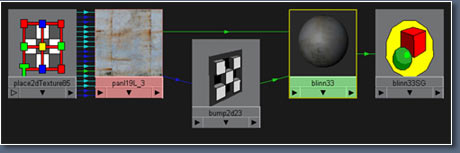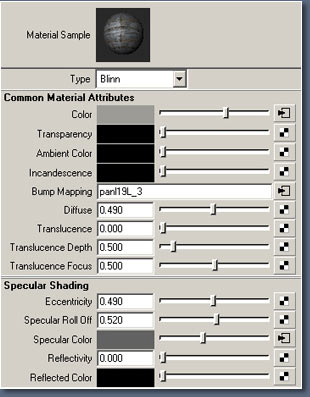
06Next I map the "Specular Color". We make a duplicate of the file texture "With Connections to Network". This way I only need one texture placement node. Then I connect the duplicate with the Specular Color of the shader.
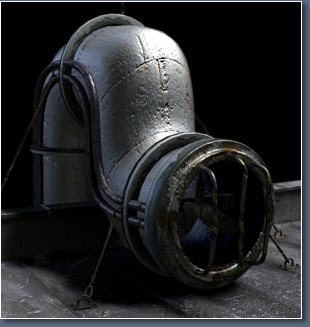
07Now the highlight looks a little more interesting.
Next I will try some variations on the Specular color by connecting a Ramp to the "Color Remap" of the "Specular Color" file.

08In the file of the "Specular Color" under Effects click the "Insert" button next to "Color Remap".

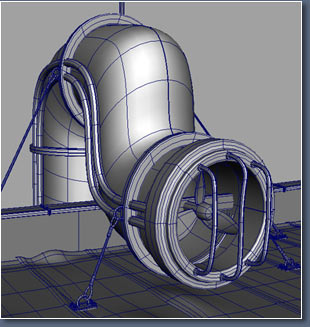
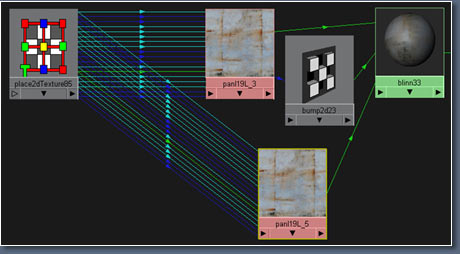
09This is my final network for the tube shader, all that’s left is editing the "Ramp" to get the disired look.
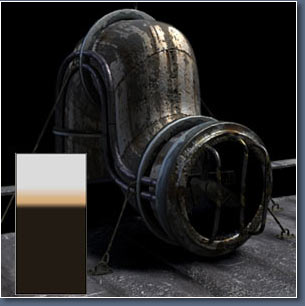
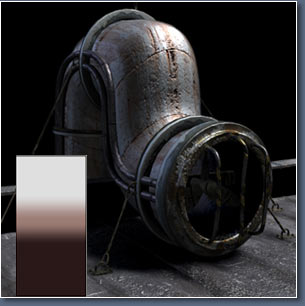
With the help of the IPR it’s easy to check out different settings. Now open the "Remap Ramp" and experiment. Below are some Testrenders with their appropriate "Ramps".
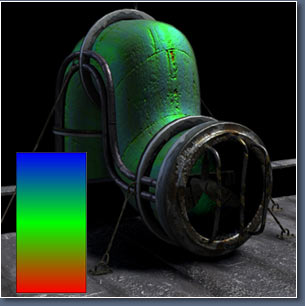
10通过调整ramp以后所得到的不同效果
11继续调整ramp

OK,到这里就结束了,方法很简单但是效果很好。