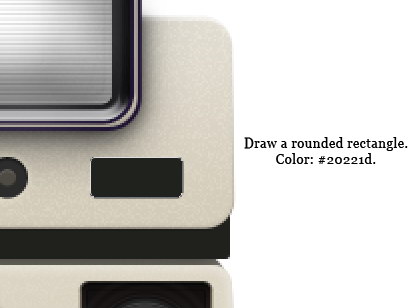
Step 73: Selector
Draw a rounded rectangle on the opposite side. Add Inner Glow and Bevel and Emboss.
上绘制一个圆角矩形对面。添加内发光和斜面和浮雕。


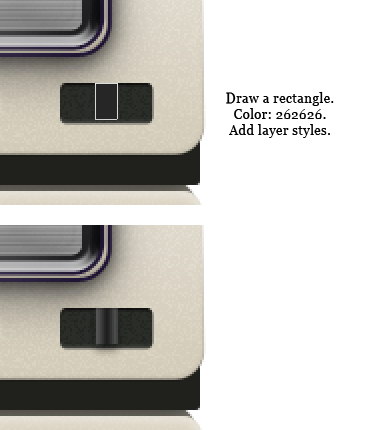
Step 74
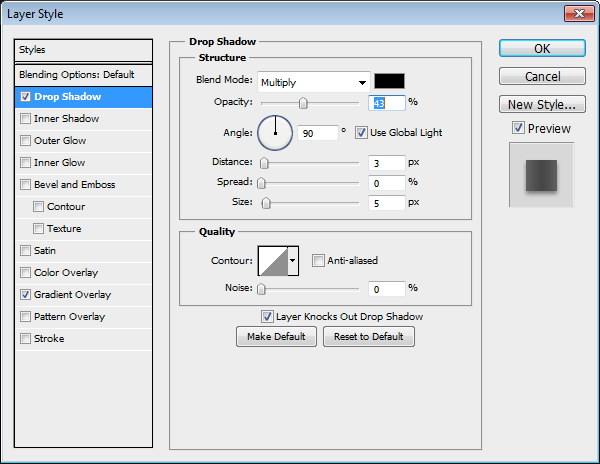
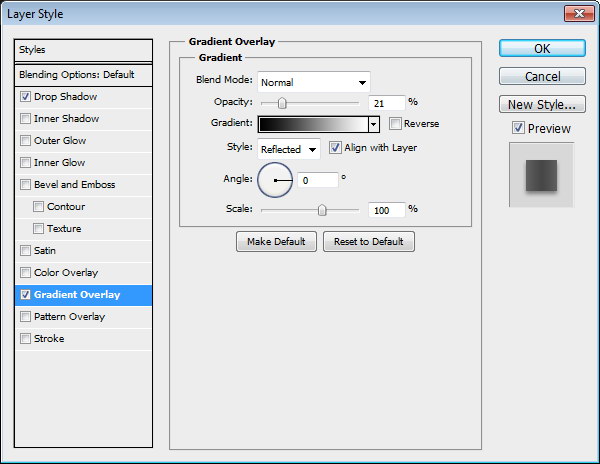
Draw a rectangle in the middle of the shape. Add Gradient Overlay and Drop Shadow.
画在中间长方形的形状。添加渐变叠加和阴影。
Step 75
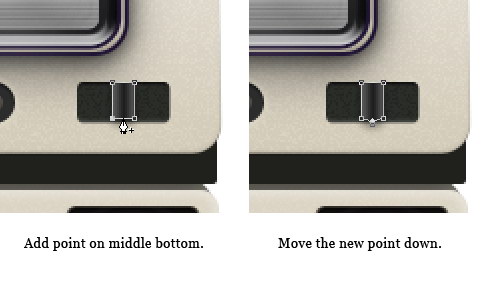
Activate pen tool. Click lower side of the rectangle to add new point. Use Direct Selection Tool to pull it down.
激活钢笔工具。按较低的矩形的边添加新的点。使用直接选择工具把它拉下来。
Step 76
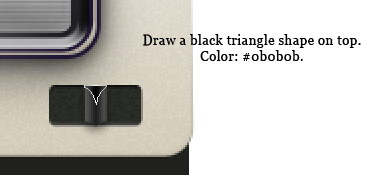
Draw a dark triangle shape.
绘制一个黑色三角形。
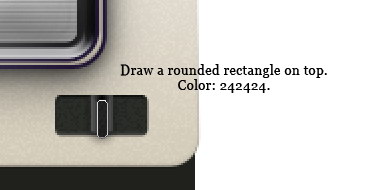
Step 77
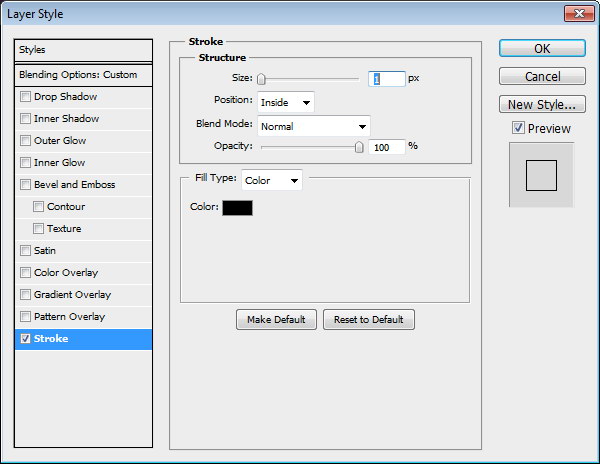
On top of the shape we have just created, draw a dark rounded rectangle. Add Layer Style Stroke.
论我们刚才创建的形状的顶部,绘制一个黑暗的圆角矩形。添加描边图层样式。
Step 78
Draw circles and triangle for knob indicator.
绘制圆和三角形旋钮指标。
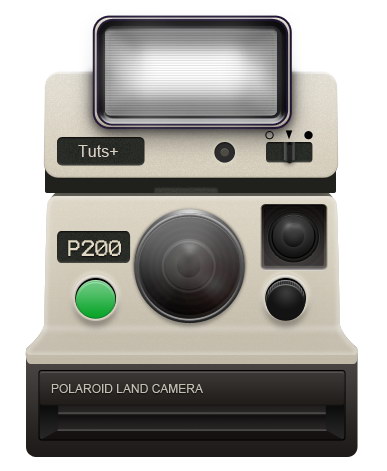
Step 79: Colorful Ribbon
Our next step is drawing colorful ribbon across upper part of the camera body. Temporarily, hide flash. First, draw a tall red rectangle. Add Gradient Overlay to avoid flat color and Bevel and Emboss to give it three-dimensional appearance.
我们的下一步是在绘制多彩的机身上部剪彩。暂时隐藏闪光。首先,画一个高大的红色矩形。添加渐变叠加,以避免平面色彩和斜面和浮雕,给它的三维外观。