Step 87
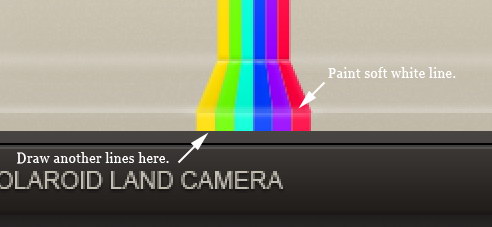
Duplicate colorful ribbon group, resize it, and place it under the previous ribbon. Paint soft white line on some part of the ribbon to give it three-dimentional appearance.
重复的彩带组,调整其大小,并将其放置在前面的缎带。漆软一些功能区的一部分的白线,以给它三维立体外观。
Step 88
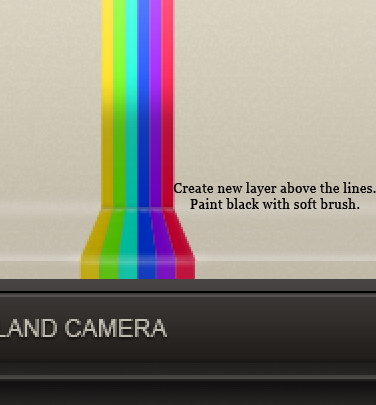
Create new layer above the ribbon. Paint black using soft brush with low Opacity to add depth onto the ribbon.
创建新层以上剪彩。涂料用低透明度黑色软刷上添加功能区的深度。
Step 89: Photo
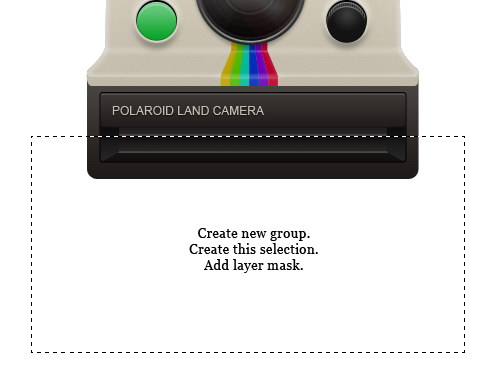
Create new group for the photo. See picture below for reference on its position. Draw rectangular selection in front of the camera. Click Add Layer Mask icon.
创建新组照片。见自己的立场参考下面的图片。绘制在镜头前矩形选区。点击添加图层蒙板图标。
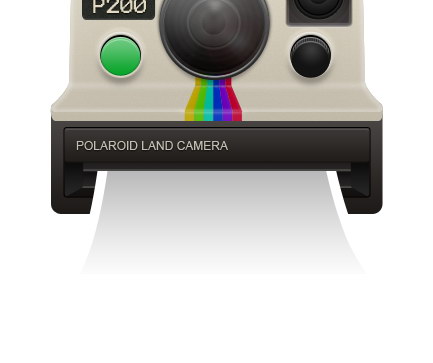
Step 90
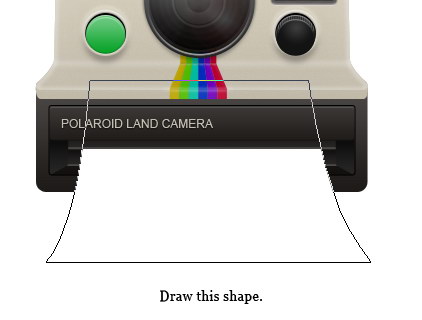
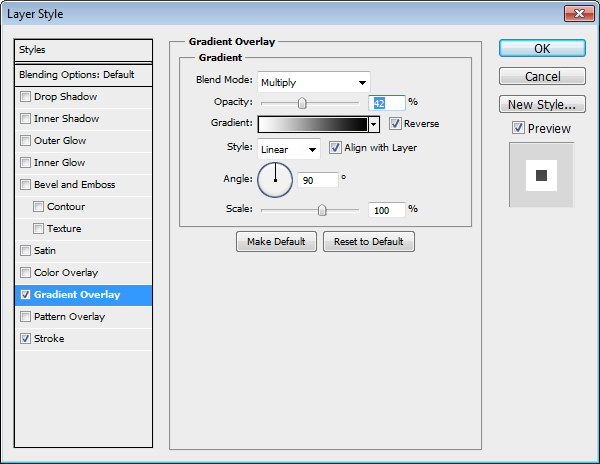
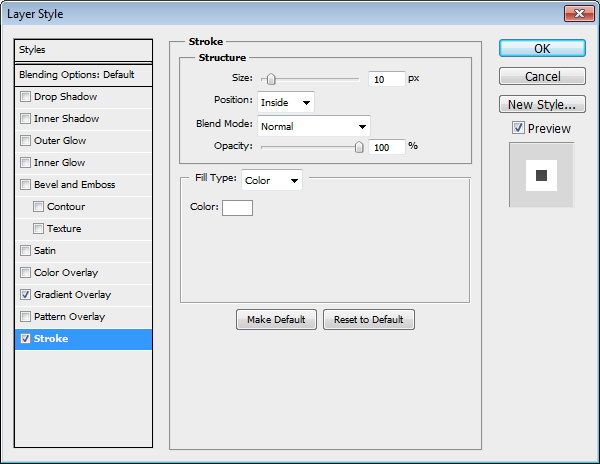
Use pen tool to draw basic shape of a photo. Add Gradient Overlay to avoid flat color and Stroke to add photo border, which is the characteristic of a Polaroid photo.
使用钢笔工具绘制一张照片的基本形状。添加渐变叠加,以避免平面彩色和中风添加照片边框,这是一个宝丽来照片的特点。
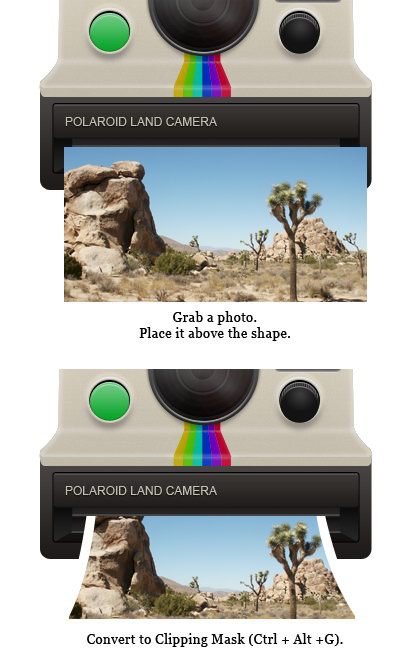
Step 91
Grab an image for the photo. I used a
photo
from
sxc.hu. Place the image right above the photo shape. Convert layer to Clipping Mask by pressing Command/Ctrl + Alt + G. The image will automatically goes inside the photo.
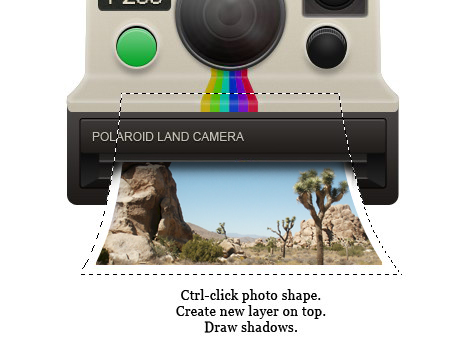
Step 92
Command/Ctrl-click photo shape. Create new layer above the image. Draw shadow on the photo.
命令/
按住Ctrl单击照片的形状。创建新层以上的图像。照片上绘制阴影。