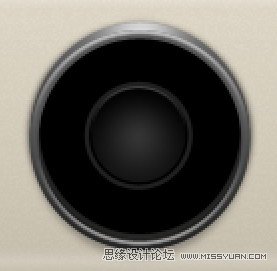
Step 35
Duplicatetwo circle shapes that we have created in Step 32 �C Step 34. Resize them to asmaller size.
�ظ�������ԲȦ����״�������Ѿ������ڲ���32- ����34��������һ����С�Ĵ�С��
Step36
Drawa bigger circle shape from the same origin. Place it behind other circleshapes. Set Blend Mode layer to Screen, reduce its Opacity to 2%, and addStroke.
��ȡ�����Բ��״��ͬ����Դ��Բ��״����������ط��ˡ����û��ģʽΪ��ɫ�㣬�����䲻����Ϊ2%����������ߡ�

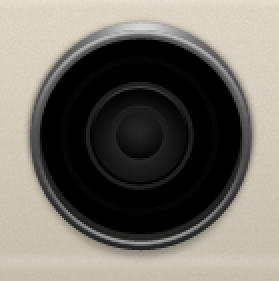
Step 35
Duplicateand resize shape a few times to create more lines. Remember that the Opacity ofthese shapes is only 2%, very subtle.
���Ʋ��γ��˼��ε��������������С����ס����Щ��״������ֻ��2%���dz��
Step 36
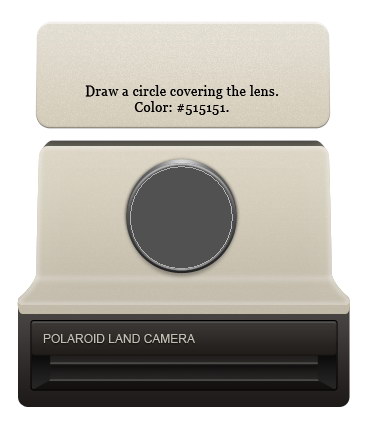
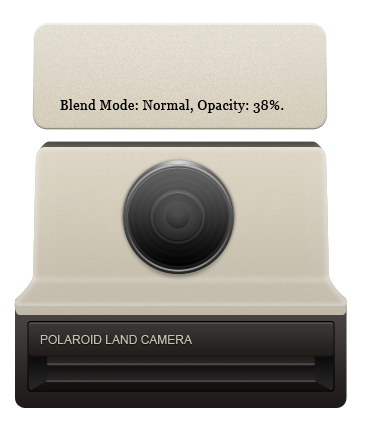
Draw acircle shape with color #515151 covering the lens. Add Gradient Overlay andreduce its Opacity to 38%.
����һ��Բ����ɫ#515151���Ǿ�ͷ�����ӽ�����ӣ��������䲻����Ϊ38%��

Step 37
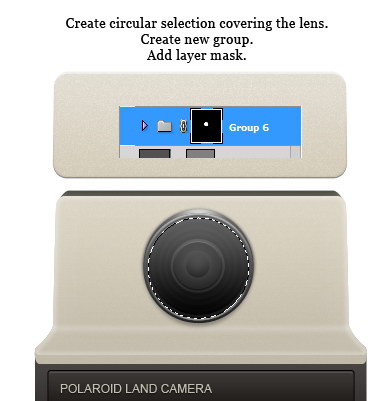
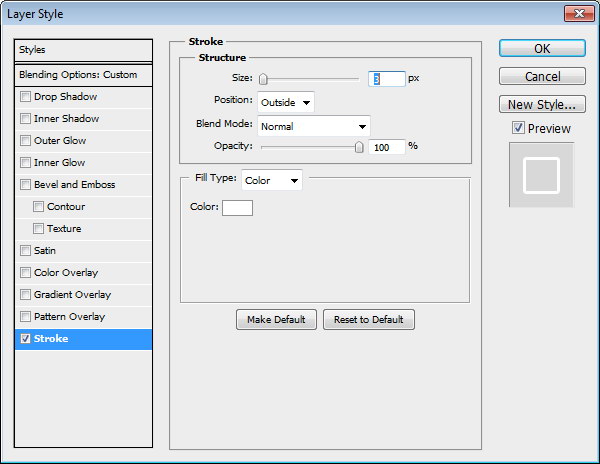
Let��sadd highlight and shadow to make it more realistic. Create a circular selectioncovering the lens. Create new group then click Add Layer Mask icon.
���������Ӹ߹����Ӱ��ʹ֮�����к�ʵ�ʡ�����һ��Բ��ѡ�����ǵľ�ͷ���������飬Ȼ������ͼ���ɰ�ͼ�ꡣ